
How to Use Bird Lens for Photo Identification
Published on 2/18/2026 • 6 min read
Bird Lens Photo ID can suggest a species from an uploaded image and field notes. It cannot recover a mark that the camera did not capture, and it does not turn a difficult photograph into a certain record. The useful question is: does the proposed bird fit the evidence in the image and the circumstances of the sighting?
Open the Photo Bird ID tool with the original photo available. Keep any other frames and your field notes nearby; one image may show the bill while another preserves the tail or wing pattern.
Pick the frame that shows diagnostic features
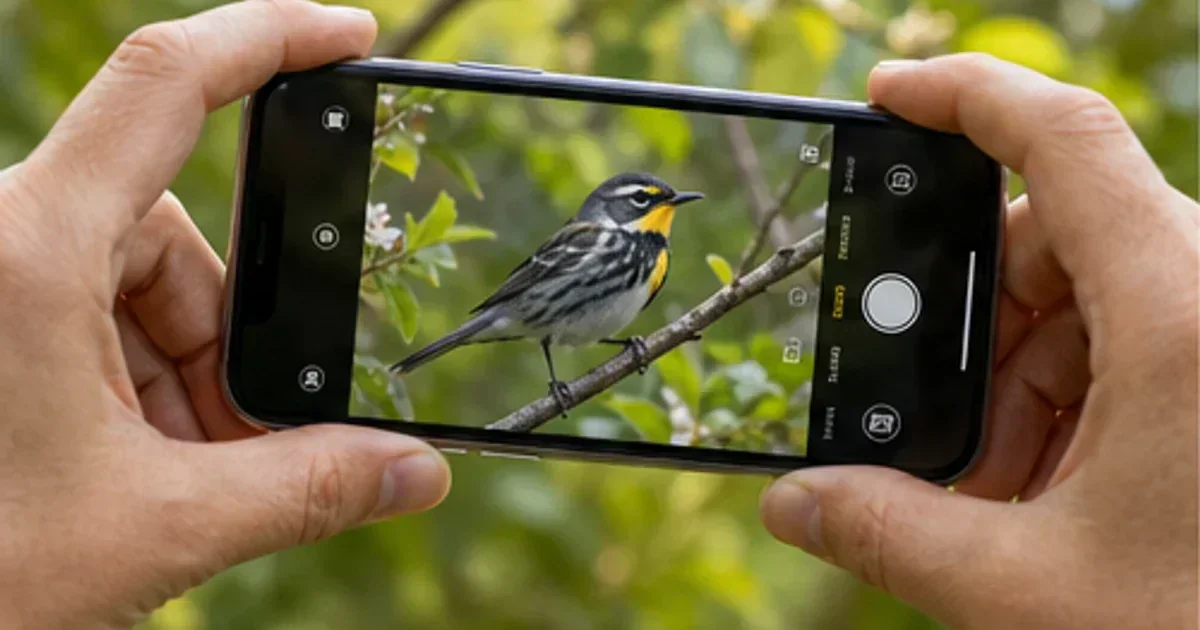
The prettiest photograph is not always the best identification photograph. Prefer a side view that shows the head, bill, wing, body proportions, and tail. Leave enough surrounding image to retain habitat clues, but make sure the bird occupies enough pixels to inspect.
A useful frame usually has:
- natural color without a strong filter
- a visible bill and head profile
- wing or tail pattern that is not hidden by branches
- limited motion blur
- one clear subject
Do not enlarge a tiny bird until compression blocks resemble plumage marks. Keep the uncropped original so you can return to it when a crop creates an apparent edge, stripe, or color patch.
Add the details the camera missed
The Bird Lens form accepts notes because a photograph freezes only one instant. Add the date, broad location, habitat, approximate size, behavior, and any call you heard. Avoid publishing exact coordinates for nests or sensitive species.
Useful notes are concrete: “smaller than a robin, feeding low in reeds, tail flicking, 8 May near Utrecht.” “Small brown bird” gives the identification process little to work with.
Submit the photo and notes, then read the response as a candidate to test. If the service is unavailable, keep the image and compare it with a field guide; the photograph remains the evidence.
Check the proposed species in a fixed order
Start with structure before color. Backlight and phone processing can shift plumage color, while bill shape, tail length, posture, and wing proportions often remain readable.
- Compare overall shape and size.
- Inspect the bill, head pattern, wing, and tail.
- Check whether age, sex, or seasonal plumage explains differences.
- Compare the date, range, and habitat.
- Compare the proposed match with the closest similar species.
For an independent comparison, Merlin Bird ID accepts a photo and offers a shortlist of possible matches. Its species accounts include community-contributed media, expert tips, and range information. Agreement between two tools is still not proof; both may be reacting to the same misleading shape or color.
Work through the evidence: Downy or Hairy Woodpecker?
Suppose Bird Lens proposes Downy Woodpecker for a black-and-white woodpecker photographed on a trunk. The label is plausible, but the photo still needs to support it. Downy and Hairy Woodpeckers overlap across much of North America and share a similar broad pattern.
Check the bill first. On a typical Downy, the bill looks short relative to the head; a Hairy's bill is longer and more substantial. Then compare the bird with the trunk, feeder, or another familiar object in the same plane. Size impressions from a cropped photograph are unreliable without such a reference.
The outer tail feathers may help when the image is sharp and correctly exposed. Downy Woodpeckers often show dark marks on the white outer feathers, whereas Hairy Woodpeckers usually look cleaner there. A hidden tail or blown white highlights remove that clue. Geography also matters because plumage varies across populations.
Write the conclusion at the strength the evidence deserves. A clear side view showing the short bill, small scale, and marked outer tail may support Downy Woodpecker. If only the back pattern is visible, record “Downy/Hairy Woodpecker” and keep both candidates. The tool started the comparison; the photograph decided how specific the record could be.
Know when the photograph cannot settle the ID
Some images lack the required evidence. Distant raptors may need tail and wing proportions. Empidonax flycatchers can require voice and range. Juvenile gulls and small shorebirds may need several angles, precise size comparisons, or expert review.
Keep the identification broad when a diagnostic feature is missing. “Gull species,” “small sandpiper,” or “Empidonax flycatcher” accurately describes the limit of the evidence. You can also share an observation with the iNaturalist community, where other people can discuss and refine identifications, provided the record is suitable for public sharing.
Seek by iNaturalist serves a different purpose. Its camera covers many kinds of organisms and is designed for private exploration without a required account. Use Seek for a broad nature walk; use iNaturalist when you want a public observation and community input.
Improve the next photograph without disturbing the bird
If the bird remains nearby, change your own position only when it can be done without altering the bird's behavior. Do not approach a nest, flush a resting bird, trim vegetation, or use playback to pull a territorial bird closer.
Back away if the bird stops feeding, gives alarm calls, crouches, or repeatedly moves away. A distant photo with an unresolved label is a better record than a close image obtained by stressing wildlife.
For future encounters, use the beginner bird identifier guide to practice shape, behavior, and habitat before relying on color. If the bird was heard more clearly than seen, try the sound ID tool with an original recording and notes about background noise.
Bird Lens is most useful as one step in an identification. Preserve the original evidence, check the suggested species against a trusted reference, and leave the record unresolved when the needed field mark is absent.
Try the tools
Put this advice into action
Use Bird Lens to identify a bird by photo or sound, then compare field marks and habitat.
Photo Bird ID
Upload a bird photo for AI-assisted species identification with encyclopedia links.
Sound Bird ID
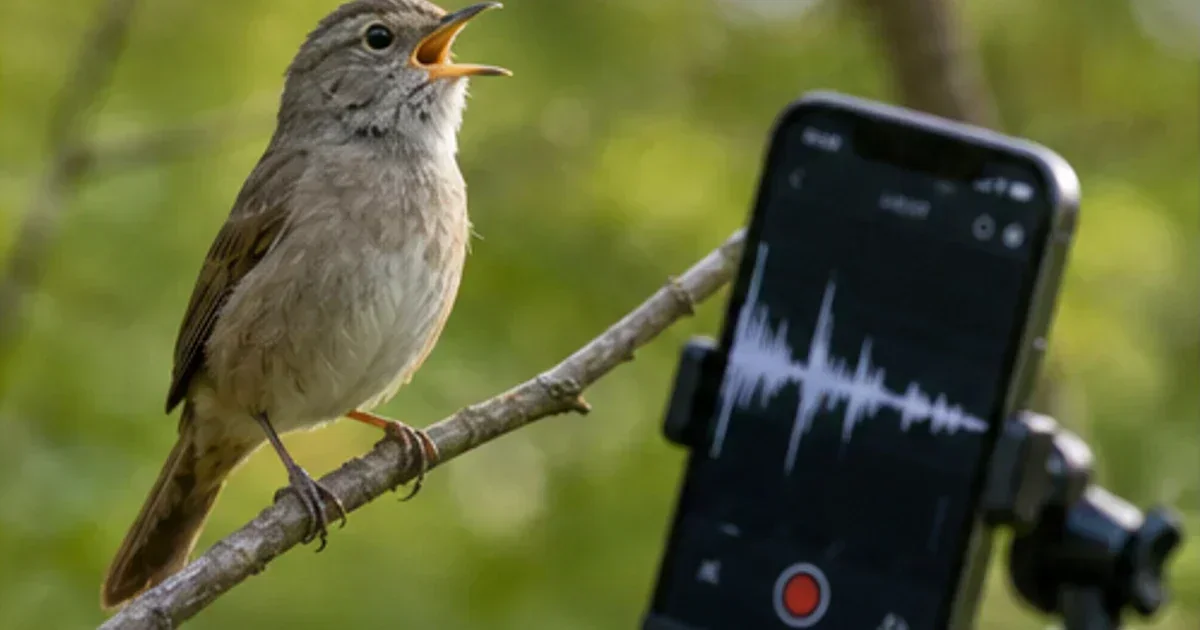
Record bird songs and calls to get likely species matches from your audio capture.
Field Notes Bird ID
Identify likely birds from field marks, habitat, behavior, place, and date.
Similar Species Comparison
Compare two easily confused bird species using diagnostic field marks.
Beginner bird identifier guide: from first sighting to confident identification
Beginner bird identifier guide: from first sighting to confident identification: practical, field-tested guidance for identifying and observing birds with confidence.