

Backyard Bird Photography Tips for Clear ID Shots
Published on 7/10/2026 • 9 min read
A good bird photo for identification is not always a “pretty” photo. The frame-filling portrait with a creamy background is nice, but a slightly awkward side view showing the wing bars, bill shape, tail length, and leg color may be far more useful.
Backyard bird photography sits in a forgiving middle ground: you know the space, the birds often return, and you can improve your setup over time. The goal is simple: make images that preserve the field marks needed for a confident ID, whether you are checking a guide, asking another birder, or using a photo tool like Bird Lens Photo ID.
Start With the Identification Goal
Before adjusting camera settings or moving feeders, think about what makes a bird identifiable. Most backyard IDs come from a mix of:
- Size and shape
- Bill length, thickness, and curve
- Wing bars, streaking, eye rings, and head patterns
- Tail length and posture
- Leg color
- Behavior and habitat
- Season and location
A photo that shows only a bird’s back may still be useful if the back pattern is distinctive. A blurry photo may confirm a large woodpecker or dove but fail on similar sparrows. The more field marks you capture, the less you have to guess.
Try to photograph the bird from several angles when possible: side, front, back, and tail. Even one extra frame can separate a House Finch from a Purple Finch, or a Chipping Sparrow from another small brown bird.
Build a Backyard Setup That Helps the Camera
Put Perches Where the Light Works
Feeders are useful for attracting birds, but feeder photos often hide feet, tails, and natural posture. Place a clean branch, stump, or brush pile near the feeder so birds pause before landing. A perch a few feet from the feeder can give you a clearer side view and a less cluttered background.
Choose a spot with open shade or soft morning light. Harsh midday sun creates blown-out whites and deep shadows, especially on black-and-white birds. Bright overcast skies are often excellent for ID shots because plumage detail stays visible.
If you can, position yourself so the sun is behind you or slightly to one side. Backlit birds can be beautiful, but silhouettes make identification harder unless the shape is very distinctive.
Keep Backgrounds Quiet
Busy backgrounds confuse both human observers and photo ID tools. A bird standing against tangled branches can lose its outline. A few steps left or right may place the bird against a fence, hedge, lawn, or distant trees.
Distance matters. If the background is far behind the bird, it blurs more easily. You do not need professional gear for this; simply arranging a perch several yards in front of the nearest background can help.
Avoid staging anything that could harm birds. Treated wood, sticky substances, fishing line, and unstable props have no place in a bird setup.
Camera Settings for Clear ID Photos
You can take useful ID shots with a phone, compact camera, or long lens. The best settings depend on gear, light, and how fast the bird moves, but a few principles hold up.
Prioritize Shutter Speed
Birds twitch, hop, preen, and turn their heads constantly. A fast shutter freezes those small movements.
For perched backyard birds, start around 1/500 second if light allows. For active birds, try 1/1000 or faster. Hummingbirds and quick wing movements may need much higher speeds, though even a perched hummingbird can be identified without freezing every wingbeat.
If your camera has shutter priority mode, it can be helpful. On phones, use burst mode and tap to focus on the bird’s head.
Watch Focus More Than Zoom
A sharp small bird in the frame is often better than a large blurry one. Digital zoom on phones can degrade detail quickly. If possible, photograph without heavy digital zoom and crop later.
Focus on the eye or head. The head carries many key marks: bill shape, crown color, eyebrow stripe, throat patch, eye ring. If the tail is sharp but the face is not, the photo may be less useful.
With cameras that offer autofocus modes, single-point or small-zone focus can prevent the camera from grabbing a nearby branch instead of the bird.
Do Not Fear Higher ISO
A noisy photo can still show field marks. A motion-blurred photo often cannot. If raising ISO lets you keep a faster shutter speed, it is usually worth it for identification.
For ID purposes, clarity beats perfection. Feather texture matters less than the presence of streaks, bars, patches, and proportions.
Compose for Field Marks, Not Just Beauty
Leave Room for the Whole Bird
Crop later. In the moment, try to include the entire bird: bill tip, tail tip, feet, and posture. Tail length and leg placement can be important clues, especially for wrens, thrushes, flycatchers, and sparrows.
A tight headshot may not show enough. A full-body side view often tells the better story.
Capture Scale When You Can
If a bird is near a feeder, branch, leaf, or familiar object, that context can help estimate size. Be cautious, though. Perspective can mislead. A small bird close to the camera may look larger than a bigger bird farther away.
Still, context is better than a blank guess. A bird on a sunflower stalk, suet cage, or fence rail gives at least a rough sense of scale.
Include Habitat Clues
Even in a backyard, habitat matters. Is the bird on the ground under shrubs, clinging to bark, high in a conifer, or visiting nectar flowers? A clear image of the bird is most important, but a wider shot can preserve useful context.
For difficult IDs, take one close photo and one wider photo if the bird stays long enough.
Work With Bird Behavior
Backyard birds often follow routines. Some feed in quick dashes, some linger, and some stay low in cover. Learning these patterns improves your chances without needing to chase or pressure the bird.
Finches may pause on an exposed perch before dropping to seed. Nuthatches often move headfirst down trunks. Jays may give you one bold moment and then vanish with food. Sparrows may stay in brush, so patience and a clear opening matter more than speed.
Anticipate where the bird will be, not where it was two seconds ago. Pre-focus on a perch. Keep your camera ready before the bird lands. Use short bursts rather than one desperate frame.
Photographing Through Windows
Window photography is convenient and often less disturbing to birds, but glass can soften images. Clean both sides of the window if possible. Turn off indoor lights behind you to reduce reflections. Press the lens close to the glass or shoot at a slight angle that avoids glare.
Double-pane windows, screens, and dirty glass reduce detail. If the image looks hazy, try another window or open it quietly if doing so is safe and does not disturb the bird.
Also make windows safer for birds. Feeders placed very close to a window or well away from it can reduce collision risk, and visible window markers can help birds recognize glass as a barrier.
Handling Tough Light and Weather
Rain, snow, and low light can make photography harder, but they can also bring birds into the open. Wet plumage may look darker or flatter than usual. Cold birds may puff up, changing their apparent shape. Molting birds can look patchy and strange.
These conditions are a reminder to avoid overconfidence. If the photo was taken in poor light or through rain-streaked glass, say so when asking for help or using an ID tool. Uncertainty is not a failure; it is part of careful birding.
Backlighting can hide color but reveal structure. A silhouette with a long tail, heavy bill, or crested head may still narrow the choices. Take the photo anyway, then try for a better angle.
Use Multiple Clues Before Naming the Bird
Photo identification is strongest when paired with location, date, behavior, and sound. Many species overlap in appearance, especially females, juveniles, and birds in worn or molting plumage.
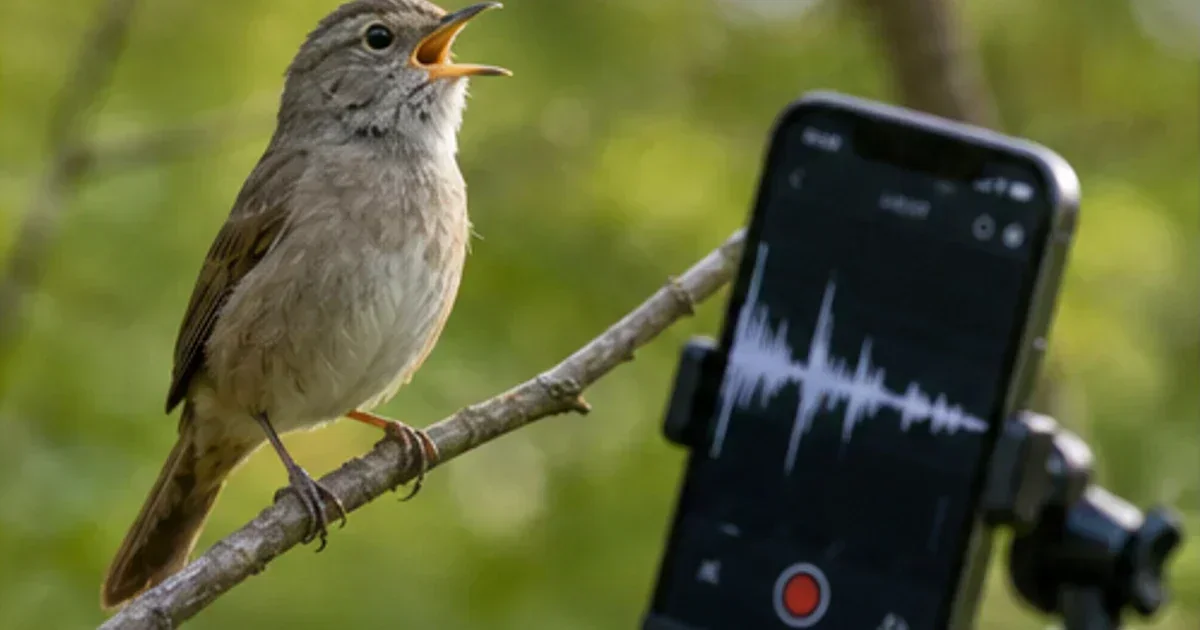
If a bird is singing or calling, note that too. A quick recording or careful description may support the photo. Bird Lens also offers Sound ID when audio is part of the observation.
When using any ID app, treat the result as a suggestion rather than a verdict. Compare the suggested species against range, season, and visible field marks. If the top answer does not match the bill shape or wing pattern, keep looking.
For a broader foundation, see the beginner bird identifier guide, which covers the main clues beyond photography.
Ethical Backyard Bird Photography
Clear photos are useful, but the bird’s welfare comes first.
Do not chase birds around the yard for a better angle. Avoid flushing birds from cover, especially in cold weather, extreme heat, or nesting season. Never trim active nest cover or approach a nest repeatedly for photos. Nest photography can attract predators and stress adult birds.
Use food responsibly. Keep feeders clean, offer appropriate seed or nectar, and pause feeding if disease appears in local birds. Avoid baiting raptors or owls for photographs. In a backyard, a natural perch near an existing feeder is usually enough.
If a bird changes behavior because of you—freezing, alarm calling, carrying food but refusing to approach, or repeatedly moving away—back off.
Short Checklist for Clear ID Shots
- Photograph the whole bird, including bill, legs, and tail.
- Aim for a side view, then take extra angles if possible.
- Use fast shutter speeds or burst mode to reduce blur.
- Focus on the head and eye.
- Avoid heavy digital zoom when cropping later will do.
- Place perches in soft light with uncluttered backgrounds.
- Record date, location, behavior, and any sounds.
- Be cautious with IDs from poor light, wet plumage, or partial views.
- Keep feeders and perches safe, clean, and low-stress for birds.
Common Backyard ID Photo Problems
The Bird Is Too Small in the Frame
This is common and often fixable. Crop the image, but keep the original. Sometimes the uncropped photo shows habitat and scale that the crop loses. Move your perch closer to a window or sitting spot, but do not place it so close that birds become uneasy.
Branches Block the Face
Branches across the body are tolerable. Branches across the face are trouble. Wait for the bird to turn, or set up a more open perch nearby. Do not remove dense cover that birds use for safety; instead, offer one clear stopping point near cover.
The Colors Look Wrong
Cameras often misread color in shade, snow, and mixed light. A bird may look too yellow, too blue, or too warm. Structural marks are often more reliable than color alone. Look at shape, pattern, and contrast.
The Bird Is a Juvenile or Molting
Young birds and molting adults cause many ID puzzles. They may lack crisp adult markings or show odd feather gaps. In these cases, behavior, size, location, and multiple photos matter even more.
Conclusion
Backyard bird photography for identification is less about perfect portraits and more about useful evidence. Give birds safe places to pause, work with soft light, keep the whole bird in frame, and collect more than one clue when you can. A modest, clear photo with honest notes about uncertainty can be far more valuable than a dramatic image that hides the field marks.
Try the tools
Put this advice into action
Use Bird Lens to identify a bird by photo or sound, then compare field marks and habitat.
Photo Bird ID
Upload a bird photo for AI-assisted species identification with encyclopedia links.
Sound Bird ID
Record bird songs and calls to get likely species matches from your audio capture.
Field Notes Bird ID
Identify likely birds from field marks, habitat, behavior, place, and date.
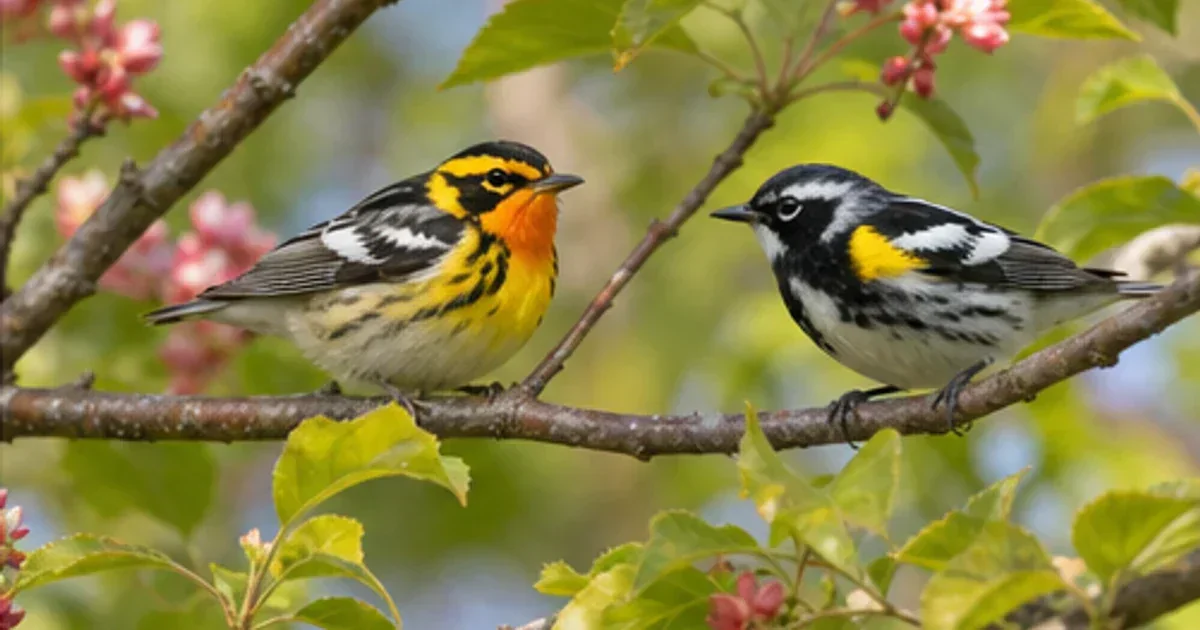
Similar Species Comparison
Compare two easily confused bird species using diagnostic field marks.
Beginner bird identifier guide: from first sighting to confident identification
Beginner bird identifier guide: from first sighting to confident identification: practical, field-tested guidance for identifying and observing birds with confidence.