
Common Bird Identification Mistakes and How to Avoid Them
Published on 11/5/2025 • 9 min read
Every birder misidentifies birds. Beginners do it because everything feels new; experienced birders do it because familiar patterns can become shortcuts. A flash of yellow, a tail flick, a loud call from the hedgerow—small clues are useful, but they can also lead you straight into a confident mistake.
Good identification is less about naming a bird quickly and more about building a careful case. The best field birders stay curious, check competing possibilities, and leave room for uncertainty when the evidence is thin.
Below are common bird identification mistakes, plus practical ways to avoid them in the field, in photos, and by sound.
Mistake 1: Relying on One Field Mark
A single field mark can be persuasive. A white eye-ring, wing bars, a streaked breast, a red patch on the head—these features often stand out first. The trouble is that many birds share similar marks, and lighting, posture, molt, age, and sex can all change how those marks appear.
For example, “yellow bird” is not enough. A warbler, vireo, goldfinch, or tanager may all show yellow, but they differ in bill shape, movement, habitat, wing pattern, and overall structure.
Instead of asking, “What bird has this mark?” ask:
- What is the bird’s overall size and shape?
- What does the bill look suited for?
- Are the wings long or rounded?
- Is the tail short, long, notched, cocked, or constantly flicking?
- What is the bird doing?
A strong identification usually rests on several clues that agree with each other.
Mistake 2: Ignoring Shape and Structure
Plumage gets most of the attention, but shape is often more reliable. Color shifts with light; structure does not change nearly as much.
Look at the bird before reaching for the most colorful detail. A sparrow’s conical bill, a flycatcher’s broad-based bill, a woodpecker’s stiff posture on a trunk, or a shorebird’s leg length can narrow the field quickly.
Useful structure clues include:
- Body proportions: round, slender, bulky, long-necked
- Bill length, thickness, and curvature
- Tail length and shape
- Wing length and primary projection
- Leg length and posture
- Flight style: direct, bounding, hovering, gliding
This is especially helpful when views are brief. A distant raptor may be too far for color, but wing shape and flight behavior can still tell you a lot.
Mistake 3: Forgetting About Habitat
Birds turn up in odd places, but habitat still matters. A bird seen in a cattail marsh, high conifer forest, open grassland, rocky shoreline, or suburban feeder starts with a different list of likely candidates.
Habitat should not be used to force an ID, but it should guide your thinking. If a bird looks like a species that is usually found in dense reeds, yet you are watching it high in dry upland pines, pause and reconsider. Maybe the bird is an unusual visitor. More often, another common species fits better.
Also pay attention to microhabitat. “In a tree” is not very specific. Was it feeding on the trunk, outer twigs, low understory, canopy edge, bare ground, or seed heads? Many similar birds separate themselves by where they feed and how they move through that space.
For more foundational field habits, see the beginner bird identifier guide.
Mistake 4: Overtrusting Color
Color is slippery. Backlighting can turn a bright bird into a silhouette. Warm evening light can make pale birds look buff or orange. Wet feathers darken. Fresh plumage may look crisp; worn plumage can look faded and confusing.
Photos can add another layer of distortion. Phone cameras often sharpen edges, shift white balance, or brighten shadows. A bird that looked gray in the field may appear bluish in a photo. A subtle olive tone may vanish completely.
When color seems important, note the lighting:
- Was the sun behind the bird?
- Was the bird in shade?
- Did you see the color with your eyes, or only in a photo?
- Did the color appear on multiple parts of the bird, or just one angle?
Use color as supporting evidence, not the entire case.
Mistake 5: Not Considering Age, Sex, and Season
Many birds do not look like the field guide’s clean adult breeding male. Juveniles, females, nonbreeding adults, molting birds, and worn spring birds can look very different from the most obvious illustration.
This causes many mistakes with ducks, gulls, warblers, blackbirds, tanagers, finches, and shorebirds. A young bird may be streakier, duller, browner, fluffier, or more awkwardly proportioned than expected. Some species change bill color or leg color seasonally. Others lose bright breeding markings after nesting.
If the bird seems “almost right” but not quite, check whether age or season explains the difference. Timing matters. A confusing fall warbler should be compared with fall plumages, not only spring males.
Mistake 6: Assuming the Rare Bird First
Rare birds are exciting, but most mystery birds are common birds seen poorly.
A good practice is to work from likely to unlikely. Before settling on a rarity, ask whether a local common species could explain the same field marks under difficult light or from an odd angle. This does not mean dismissing unusual sightings. It means raising the standard of evidence when the claim is unusual.
For rare or out-of-range birds, try to document:
- Clear photos from multiple angles, if possible
- Exact location and habitat
- Date and time
- Behavior and vocalizations
- Similar species you considered and ruled out
If you are not sure, say so. “Possible” or “probable” is often more honest than forcing certainty.
Mistake 7: Misreading Size
Size is hard to judge in the field. A lone bird on a distant branch can seem larger or smaller depending on distance, posture, and surroundings. Even experienced observers can misjudge size without a comparison.
Whenever possible, compare the bird to something known:
- Nearby birds
- Leaves, fence posts, wires, or feeder parts
- Branch thickness
- Body proportions rather than absolute size
Instead of “large,” try “robin-sized,” “smaller than a crow,” or “about sparrow-sized.” Relative size is more useful and less misleading.
Mistake 8: Separating Sound From Context
Bird sounds are powerful identification clues, but they can be deceptive. Some species have regional song differences. Young birds give odd begging calls. Alarm calls can be sharp and generic. Mimics may copy other birds. Wind, traffic, water, and distance can alter what you hear.
If identifying by sound, note the pattern rather than only the tone:
- Was it a song or a call?
- How many notes?
- Did it rise, fall, buzz, trill, or repeat?
- Was the rhythm even or irregular?
- Where did the sound come from?
- Did you see a bird singing?
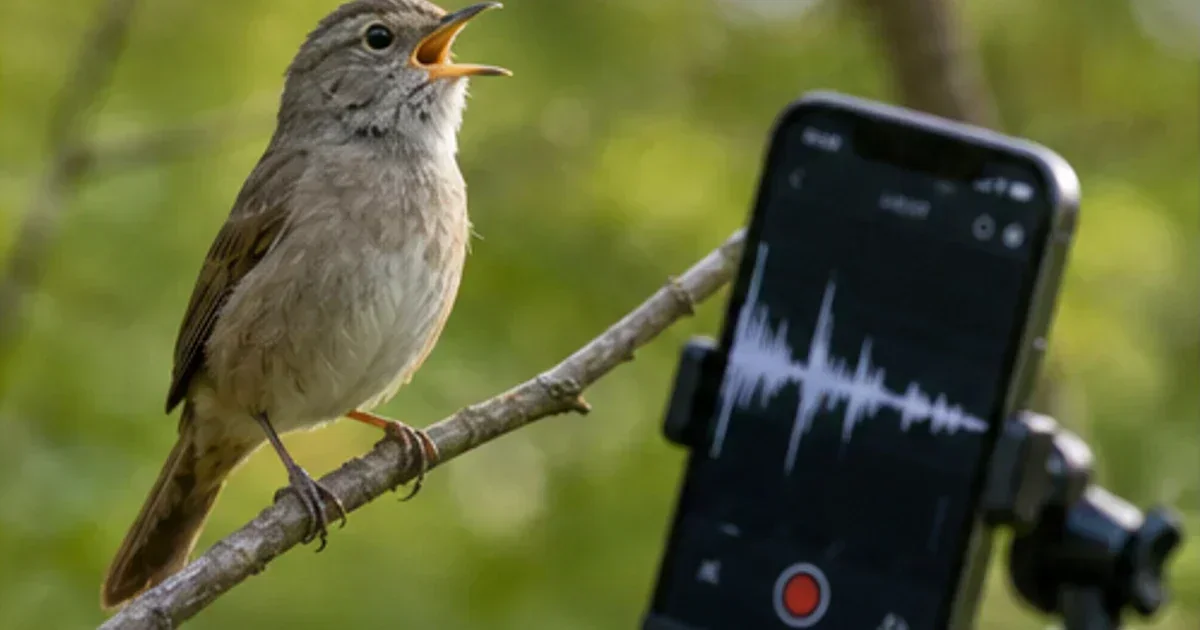
Sound tools can help, especially when used as a second opinion rather than final proof. Bird Lens offers a sound identification tool that can support your notes, but the best results come when you also consider habitat, range, season, and behavior.
Mistake 9: Trusting a Photo Without Reviewing the Whole Bird
Photos freeze details that were missed in the field, which is useful. They can also tempt you into zooming too far into one feature while ignoring the whole bird.
When reviewing a photo, start broad:
- Overall shape and posture
- Bill structure
- Wing and tail pattern
- Face pattern
- Leg color and length
- Habitat and date
Then look at fine marks. Also review every usable frame. One photo may hide a key feature; another may show the wing, tail, or face more clearly.
If you use a photo tool, provide the clearest image available and treat the output as a clue to evaluate. You can try Bird Lens’s photo ID tool alongside your own field notes.
Mistake 10: Letting Expectation Override Evidence
Expectation is useful. If you know what birds are common in your area this month, you will identify more birds correctly. But expectation can become a trap when it makes you ignore contradictory evidence.
This happens often with familiar backyard birds. A quick glance says “House Finch,” but the bill shape, streaking, or behavior may suggest something else. Or a bird at a feeder is assumed to be the usual species, even though a seasonal visitor has arrived.
A simple habit helps: name one alternative before confirming an ID. Even if you return to your first choice, the comparison sharpens your observation.
A Short Checklist for Better Bird Identification
Before you settle on an identification, run through this quick checklist:
- Shape: What is the bird’s structure, not just its color?
- Bill: Does the bill fit the suspected species?
- Behavior: How does it move, feed, perch, or fly?
- Habitat: Does the location make sense?
- Season: Is this plumage expected now?
- Sound: Did the voice support or contradict the ID?
- Similar species: What else could it be?
- Evidence quality: Was the view clear, brief, distant, or backlit?
- Uncertainty: Should this be marked as possible rather than certain?
For more field observation habits, browse the Bird Lens birding tips.
Handling Uncertainty Well
Uncertainty is not failure. It is part of birding. Some birds go unidentified because the view was too short, the photo too blurry, or the sound too faint. That is normal.
Useful notes can still be made:
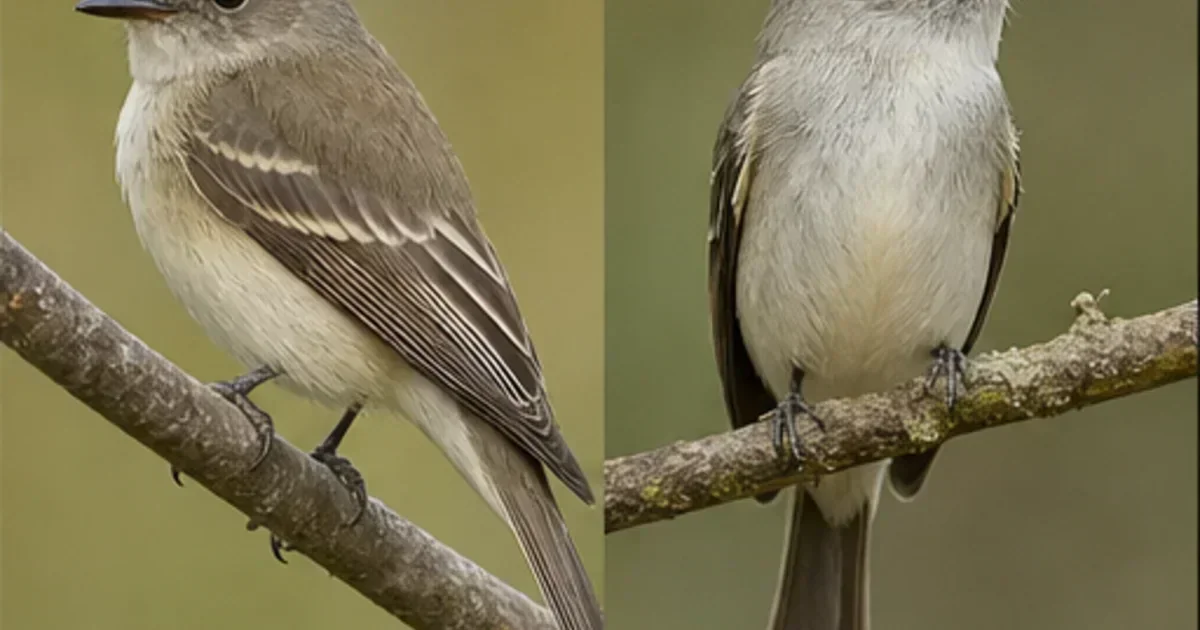
- “Small flycatcher, olive-gray, two wing bars, silent, low willow thicket”
- “Possible Cooper’s/Sharp-shinned Hawk, brief view, long-tailed accipiter”
- “Unidentified sparrow, heavy streaking, wet grass edge, no photo”
These records are more valuable than a confident but unsupported label. Over time, patterns emerge, and the next encounter becomes easier.
Ethical Observation Matters
Good identification should not come at the bird’s expense. Avoid pushing closer when a bird is feeding, nesting, calling anxiously, or clearly trying to move away. Be especially careful around nests, roosts, owls, shorebirds, and exhausted migrants.
Use paths where possible. Keep a respectful distance. Limit playback, particularly during breeding season or around sensitive species. If a bird changes its behavior because of your presence, back off.
A better look is not worth disrupting the bird you are trying to understand.
Conclusion
Most bird identification mistakes come from moving too fast: trusting one field mark, ignoring structure, overlooking habitat, or forcing a name when the evidence is weak. Slow down just enough to build a case. Look at shape first, then plumage. Add behavior, sound, season, and place. Compare similar species. Be willing to say “I’m not sure.”
That careful uncertainty is not a weakness. It is one of the habits that turns casual noticing into better birding.
Try the tools
Put this advice into action
Use Bird Lens to identify a bird by photo or sound, then compare field marks and habitat.
Photo Bird ID
Upload a bird photo for AI-assisted species identification with encyclopedia links.
Sound Bird ID
Record bird songs and calls to get likely species matches from your audio capture.
Field Notes Bird ID
Identify likely birds from field marks, habitat, behavior, place, and date.
Similar Species Comparison
Compare two easily confused bird species using diagnostic field marks.
Beginner bird identifier guide: from first sighting to confident identification
Beginner bird identifier guide: from first sighting to confident identification: practical, field-tested guidance for identifying and observing birds with confidence.